Chain-ge It Yourself
By Larry Floyd
My annual “September in the Smokies” ride this year turned into “October in the Smokies” due to some unforeseen scheduling conflicts; however, the change turned out to be serendipitous because the Fall colors were spectacular, the twisty roads scrumptious, and the temperatures absolutely balmy.
My F700GS proved to be the perfect vehicle for the trip. It is an ideal size, weight, and configuration for me. It does depart from the BMW motorcycle standard by having a chain instead of a shaft drive. While lubricating the chain during my trip, I noticed the chain tension was getting a little sloppy and, on further inspection, found the rear sprocket looking worn. At 39,XXX miles, that was hardly a surprise. It was either time to trade in the motorcycle or develop a new skill – removing and replacing the drive chain and sprockets. I chose the latter.
According to information gleaned from several sources, a modern motorcycle chain should last about 20,000 miles before needing replacement. I had my chain replaced at about that last year during my extended trip to the MOA National Rally, but did not change the sprockets at the same time.
Most sources of information on drive chains recommend changing the chain and both sprockets at the same time as they tend to wear down as a unit. I found some other sources that seemed to think replacing the chain every 20K and the sprockets every 40K was OK. Regardless of what you find on the internet or hear from “experts,” I think it best to inspect the sprockets and chain at regular intervals and do the maintenance when the parts show wear rather than use an arbitrary mileage figure to dictate your actions.
Wear and tear on the chain and sprockets can be easily assessed by visual inspection and measurement. The rear sprocket teeth should appear uniform and symmetrical. When they start to look like “shark fins” then you know it is time for a change. The drive sprocket can only be inspected by removing the cover guard. This is done on my F700 by removing two screws.
Chain wear results in stretching. This is evident when you have to adjust chain tension frequently and can be proven by measuring a set length of the chain. The BMW riders manual describes how to determine the acceptable amount of chain wear by measuring the distance between 9 rivets, with the maximum length being 144.30mm. Anything greater than that means the chain has stretched beyond the acceptable limits.
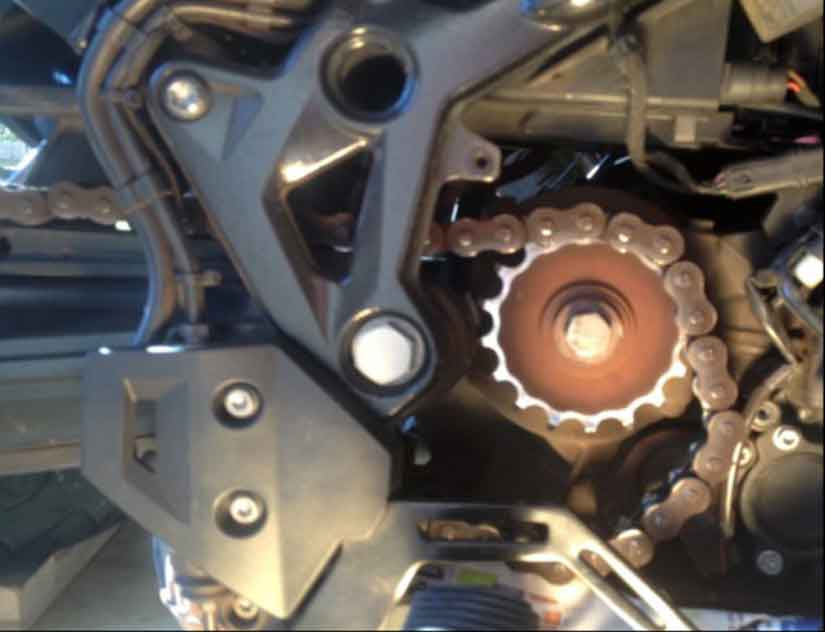
OK. My sprockets look like a school of sharks and I have been adjusting the chain tension frequently for the last couple of thousand miles. It’s time to actually do something about it.
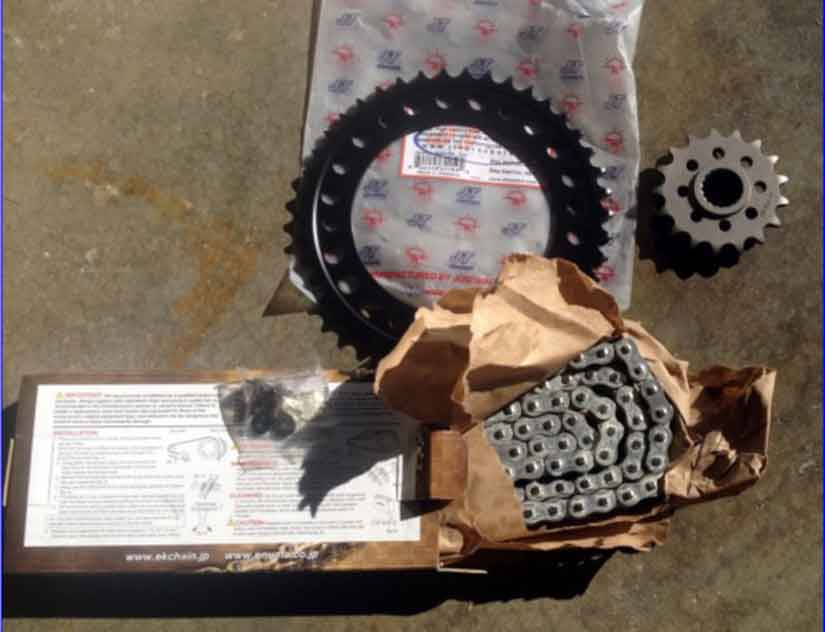
I did a quick search and found all the information I needed at a website called Sprocket Center. My 2013 F700GS came with a 17 tooth front sprocket, a 42 tooth rear sprocket, and a 526 pitch chain with 116 links. Changing the number of teeth would change the gear ratio, and I have been quite happy with the performance so no need to mess with changing sprocket sizes.
The 526 chain refers to the distance between the link pins and also the width of the plates. The chain pitch must match the sprockets, so you want to make sure you get the right one when you order. In this case, the company cut the chain to the proper 116 link length for me although I could have cut the unnecessary links out myself. The whole package, with free shipping, came to $170, which, I think, is a reasonable cost for a 20,000 mile plus maintenance item. Everything arrived by UPS two days later, placed right on my doorstep.
Now for the interesting stuff, actually removing the old parts and replacing them without screwing something up. After watching a couple of YouTube videos, I was ready to tackle the job. There is a distinct order to the process that needs to be followed. First, I removed the two retaining screws and the front sprocket cover. There is a big nut on the drive sprocket which has to be removed.
Here is where the need to follow a specific order of steps becomes evident. If you take the chain off before removing the sprocket nut, there is no way to fix the sprocket in place to keep the wrench from turning the sprocket and not the nut. I left the transmission in gear and stepped on the rear brake to hold the sprocket before fitting a big breaker bar wrench on the head of the nut and giving it a hefty tug.
Surprisingly, the retaining nut was not on all that tight and it spun free with relative ease. I left the front sprocket loosely attached to keep the chain in place for the next step, rear wheel removal.
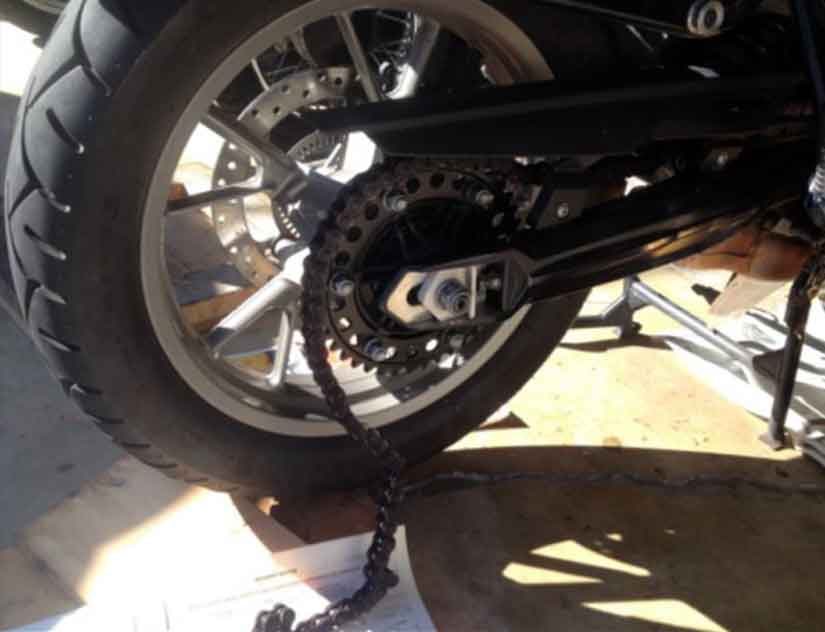
I’ve taken the rear wheel off several times to change tires; it is not a difficult thing to do. Again, the BMW riders manual steps you through the process with good pictures and clear instructions. Once the rear axle was pulled, the wheel could be maneuvered forward and the chain slipped off of the rear sprocket teeth. Now the chain was resting on the floor, still attached to the loosened front sprocket.
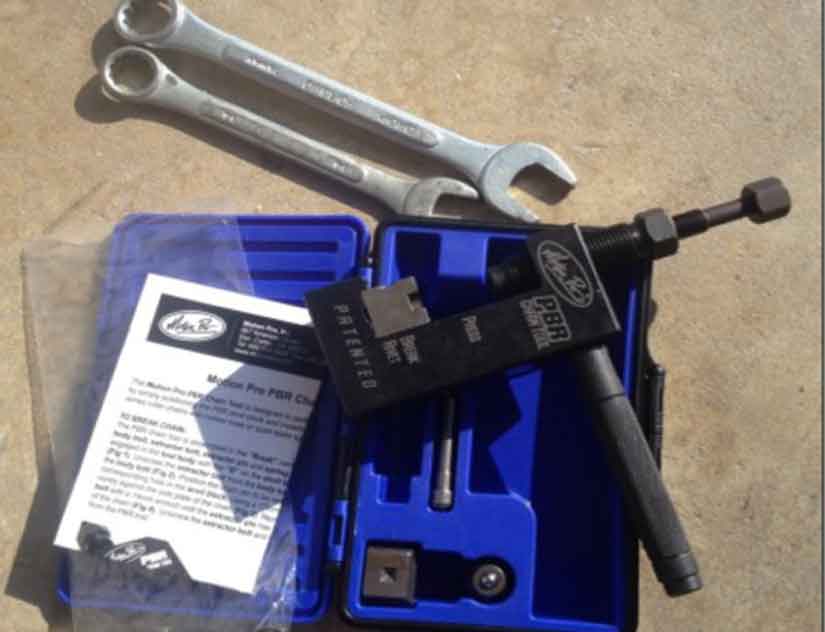
Here comes the fun part, breaking the old chain so it can be completely removed. This step would be very difficult without the proper tool. I bought a Motion Pro PBR Chain Tool (left). The “PBR” stands for Press, Break, Rivet, which are the three functions needed to complete the chain removal and replacement process.
First, there is the Break step. The tool is fitted to one of the pins in the old chain and then tightened until the pin is pushed out and the link released. Now the chain is no longer continuous and you could remove it but it is better to leave it in place for now with the loose ends resting on the garage floor. Remember the old front sprocket was left in place.
At this point, it can be replaced with the new sprocket, again with the old chain loosely engaged. Once that is accomplished, you can attach the end of the new chain to the end of the old chain with a zip tie, and then the new chain can be pulled easily around the new sprocket without a lot of fuss or muss (right). The zip tie can be cut and the old chain discarded.
Now, the ends of the new chain have to be securely connected. Here come the Press and Rivet steps. The PBR tool is now set up to press the side plate onto the master link of the new chain. Once the side plate is in place, the tool is reconfigured for the Rivet step. The clear instructions included with the tool were much appreciated. When I was done, I could hardly tell which link I had just successfully riveted in place.
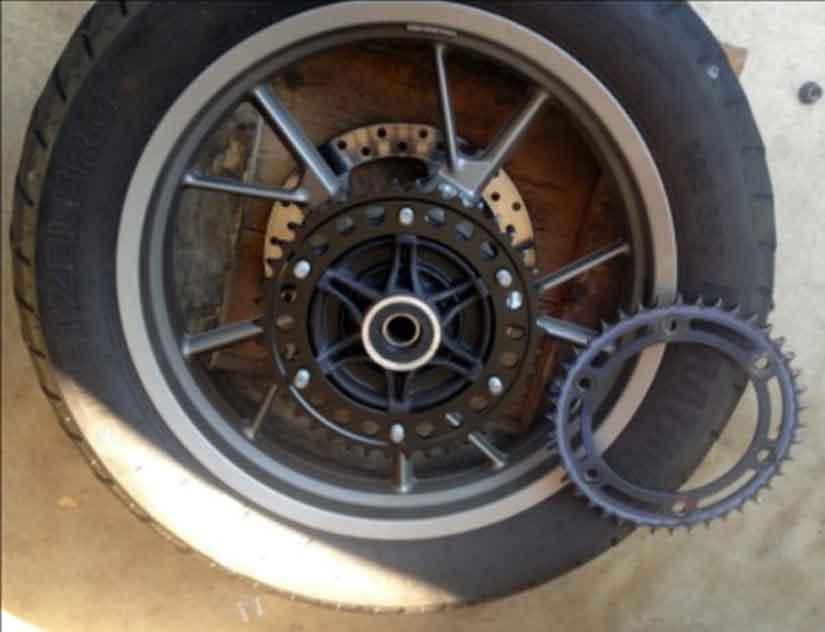
I then turned my attention to the rear wheel. Taking off the old rear sprocket required only removing the retaining nuts and doing a direct swap out. I put a little bit of blue LocTite on the nuts just to make sure they would not work their way loose. The rear wheel was then replaced. Remember, though, that the front sprocket nut could not be tightened until the rear wheel was set and the brake could be applied.
This is a step that it would be very wise to double check. Having a front sprocket come spinning off when zipping around a corner would not be a pleasant experience. After tightening the front sprocket retainer, I adjusted the chain tension per the Riders Manual instructions. Just to be on the safe side, I went back and checked the tightness of every bolt and nut I had touched during the job. The final step was to replace the front sprocket cover and take the bike off the center stand.
Time to take a ride. During the Smokies trip, I noticed a lot of clunking in the drive train when rolling off the throttle approaching a curve and then whacking it back on coming out.
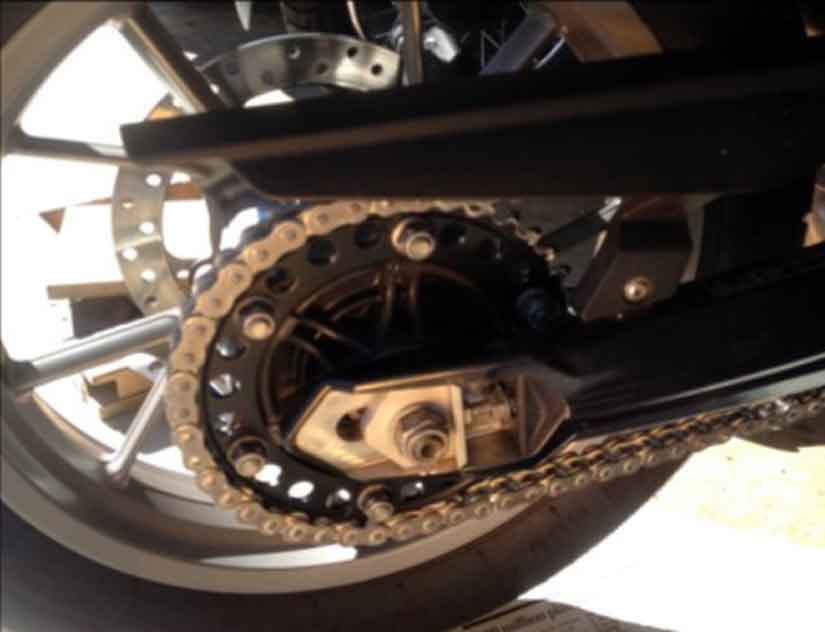
After renewing the chain and sprockets, what a difference! I had apparently gotten used to the drive line slop because the wear occurred gradually. Now, the bike performs like it did when brand new.
This was my first time replacing a motorcycle chain. It proved to be fairly easy, although without the right tools and instructions, it would have been nearly impossible. BMW shaft drives are clean and reasonably reliable but there is no reason to fear buying one of the chain drive models. Chains are a proven method for driving motorcycles and ATVs, and the maintenance and costs aren’t that bad. GR
